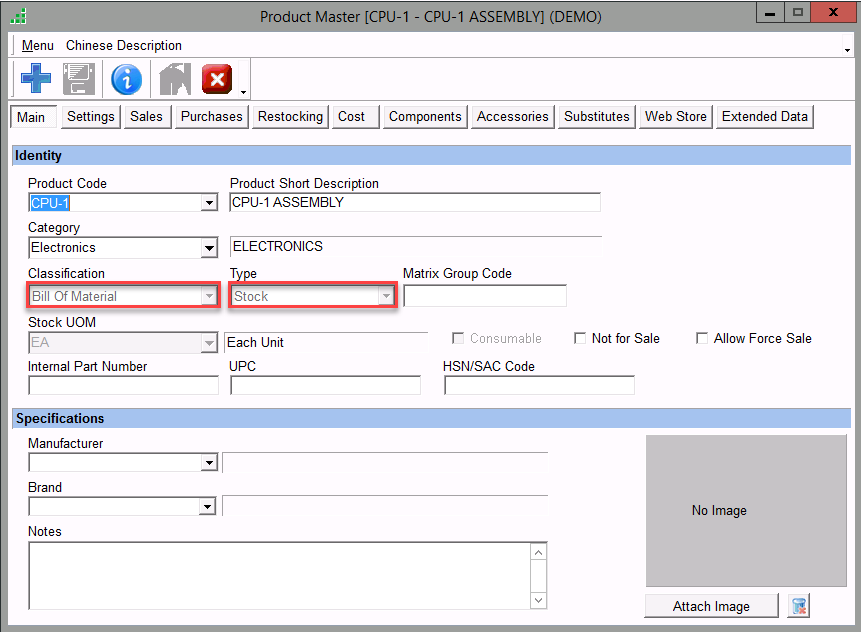
Menu Path: Products > Product Master > New
- Set Classification as a Bill of Material
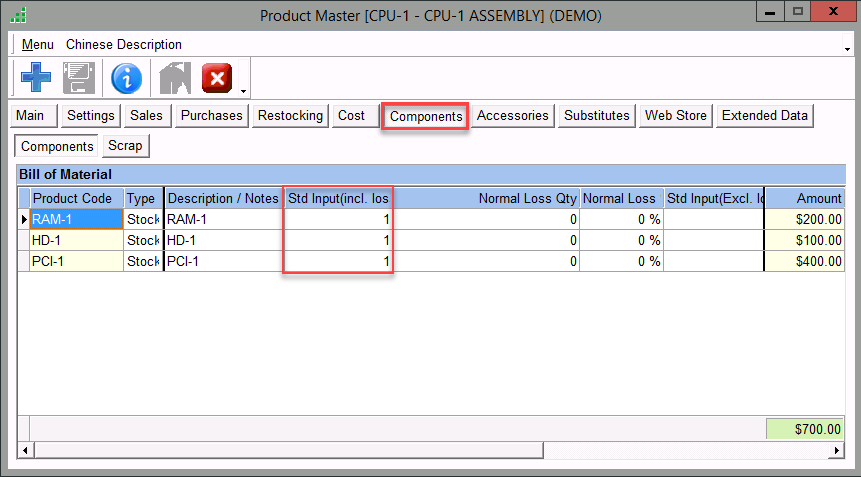
- Components Tab > Select Components and Input Quantity and Save
Job Order Process
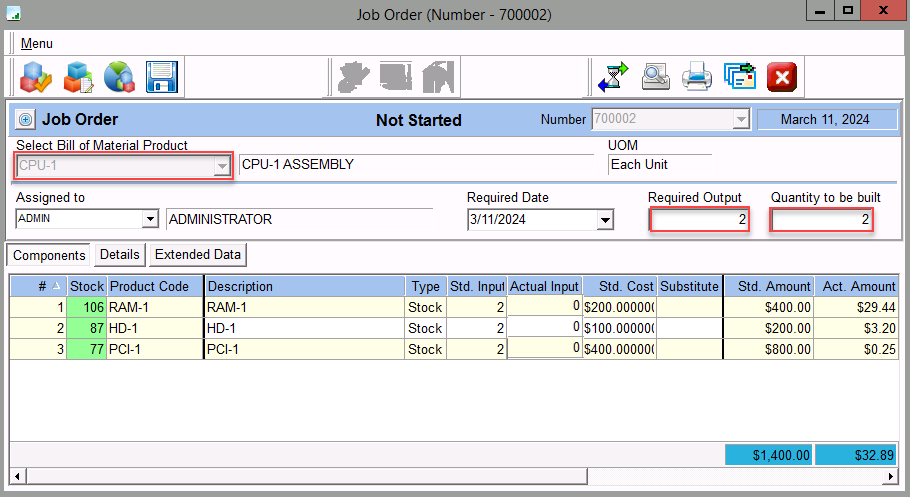
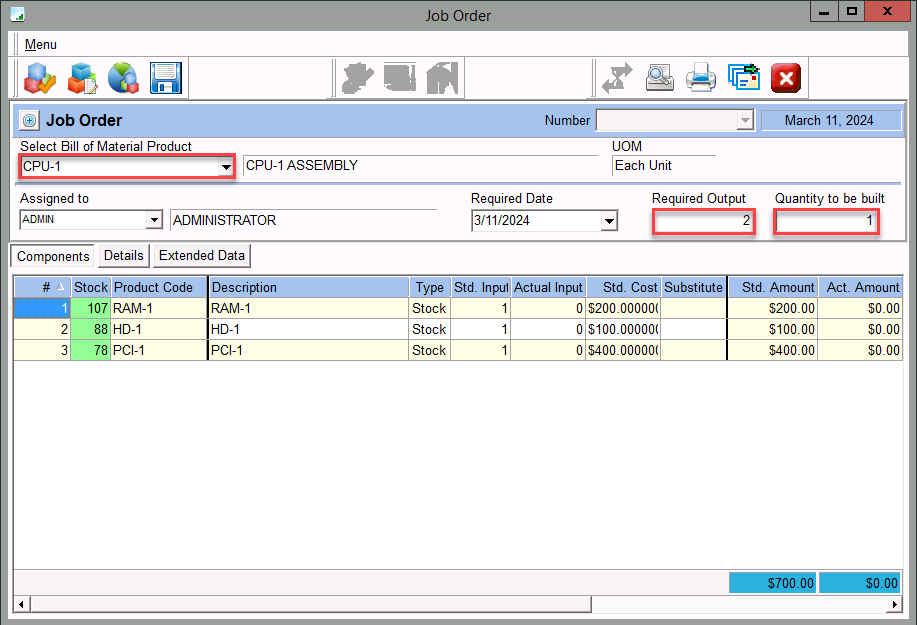
Menu Path: Production > Job Order > Menu > New
- Select the Bill of Material Product, Enter the Required Output and quantity to be Built, and Save
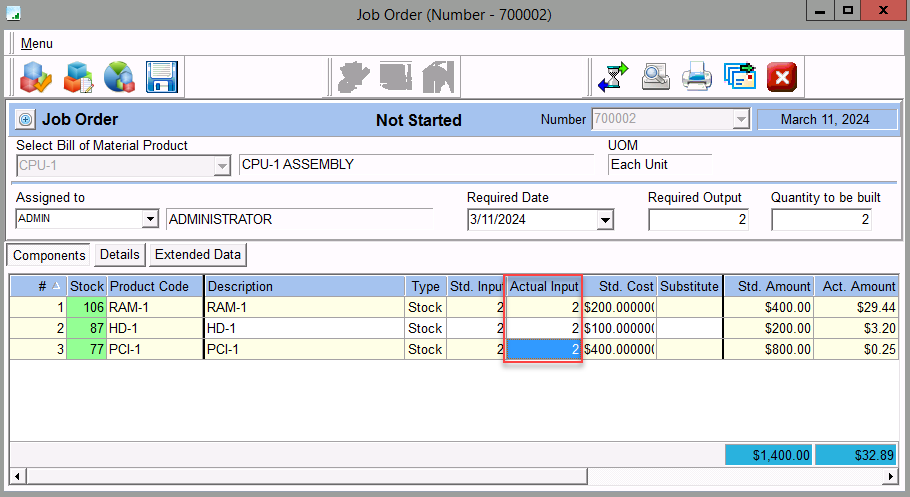
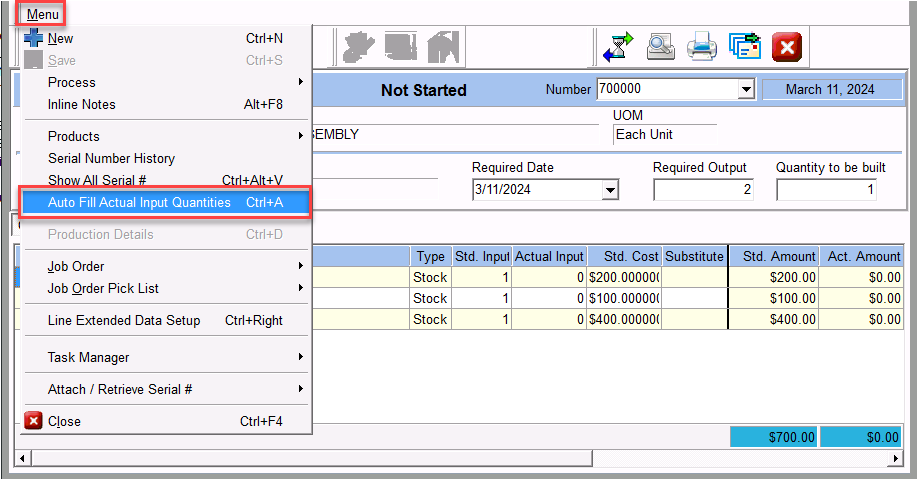
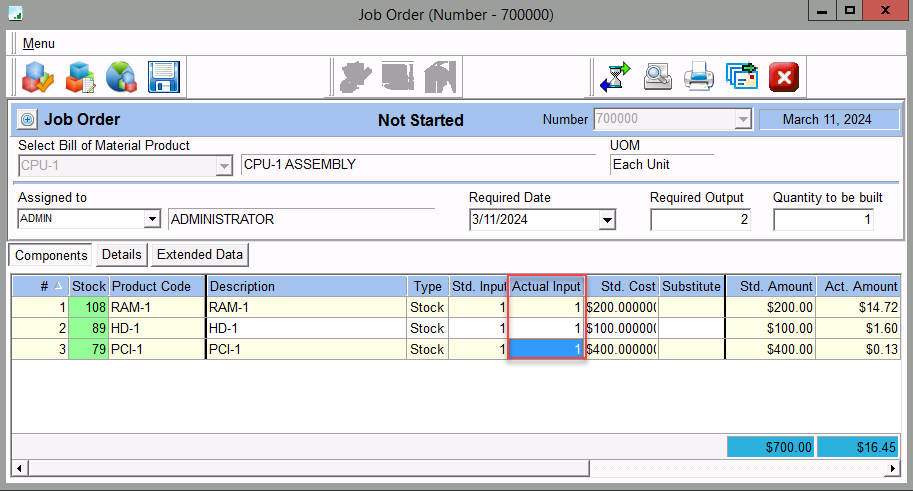
Input Quantity
- Enter the Actual Input or, Menu > Auto Fill Input Quantities
- Each component should have one dedicated bin to Auto Fill the Actual quantities and Save

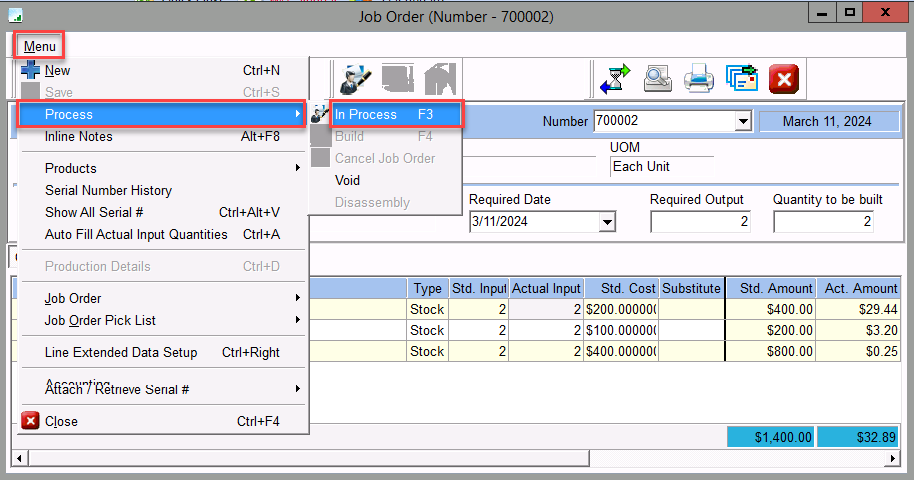
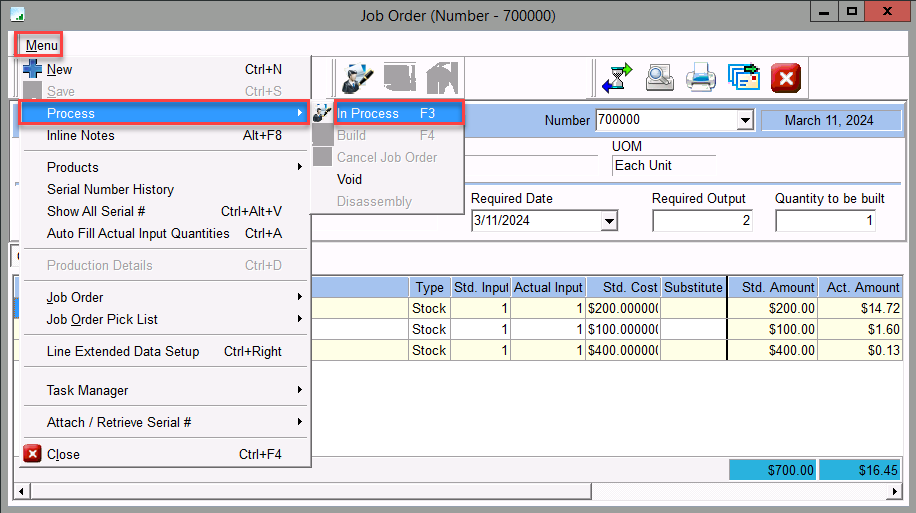
Mark the Job Order as In Process
Menu > Process > In Process
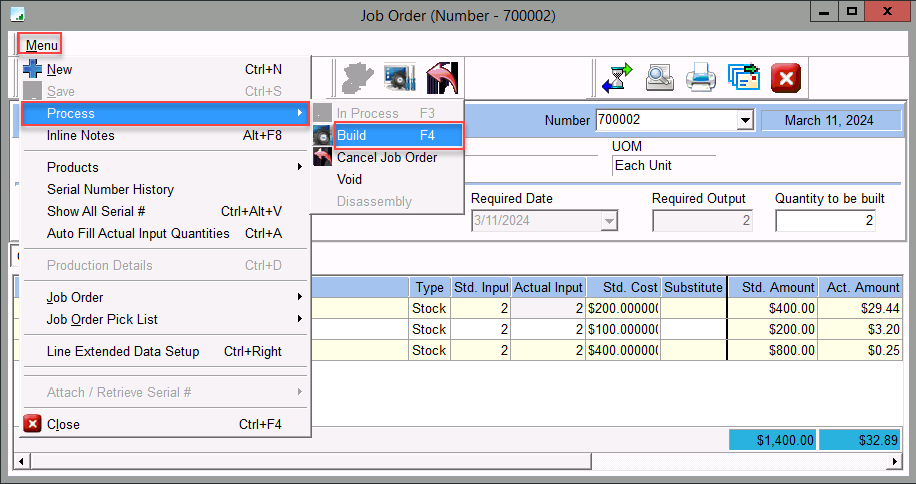
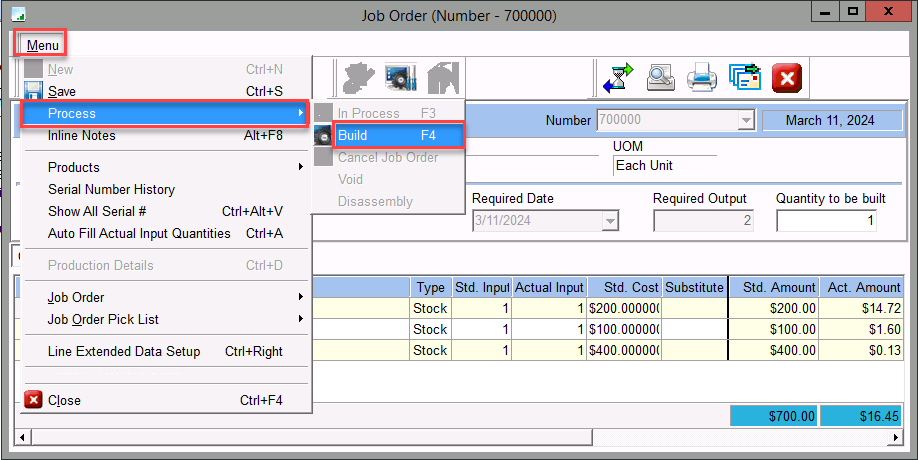
JO Build Process
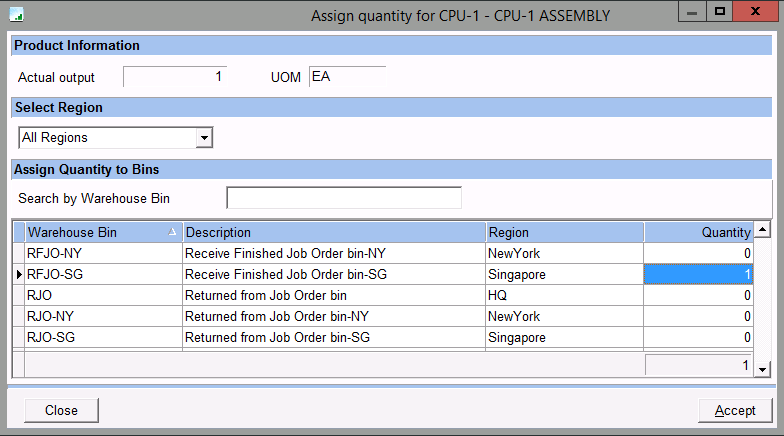
- Menu > Process > Build
- Assign quantities to Bin for the Built JOs and click on Accept
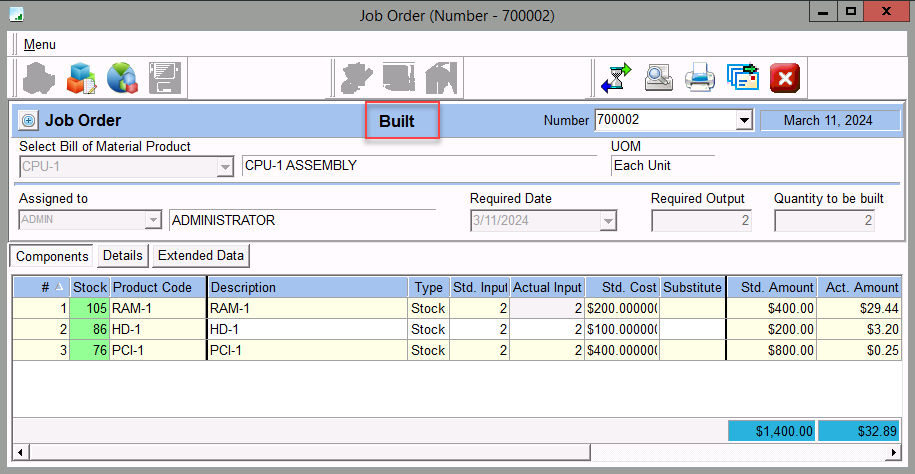
- The status of the job order will be “Built”

Job Order for Partially Quantity
Menu Path: Production > Job Order > Menu > New
- Select the Bill of Material Product, Enter the Required Output and quantity to be Built, and Save
Input Quantity
- Enter the Actual Input or, Menu > Auto Fill Input Quantities
- Each component should have one dedicated bin to Auto Fill the Actual quantities
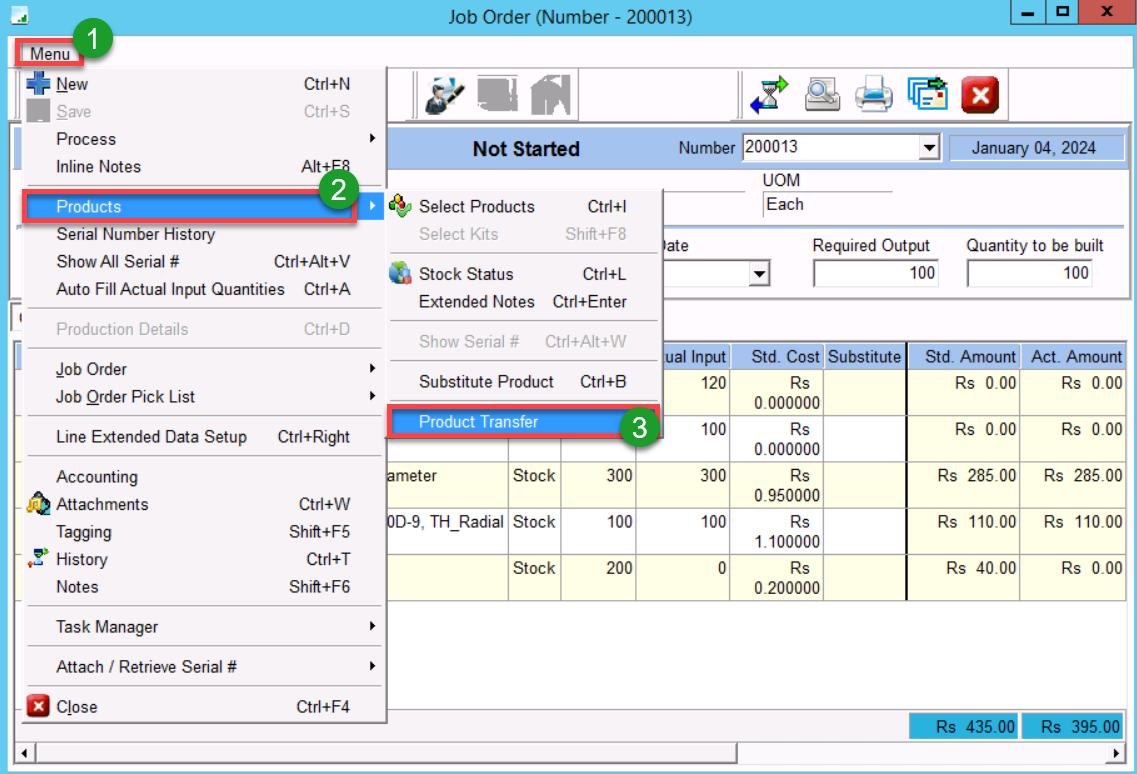
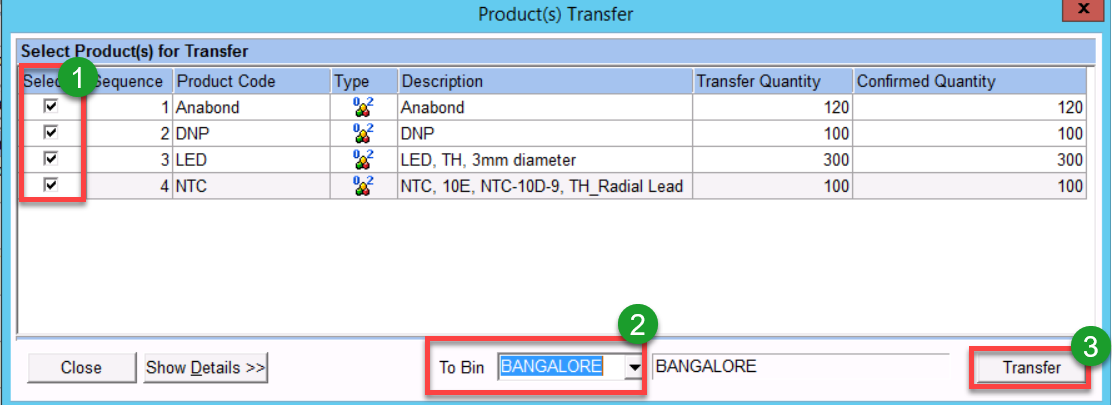
Product Transfer
Menu > Products > Product Transfer > Select the Bin > Transfer
Mark the Job Order as In Process
Menu > Process > In Process
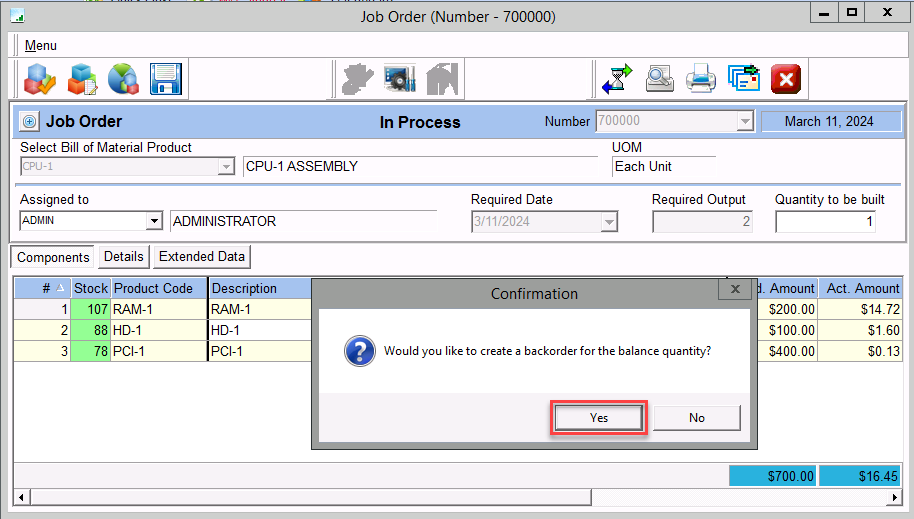
JO Build Process
- Menu > Process > Build
- Since the Job Order is partial, the remaining required quantity will be back ordered and a new JO will be created
- Assign quantities to Bin for the Built JO and click on Accept
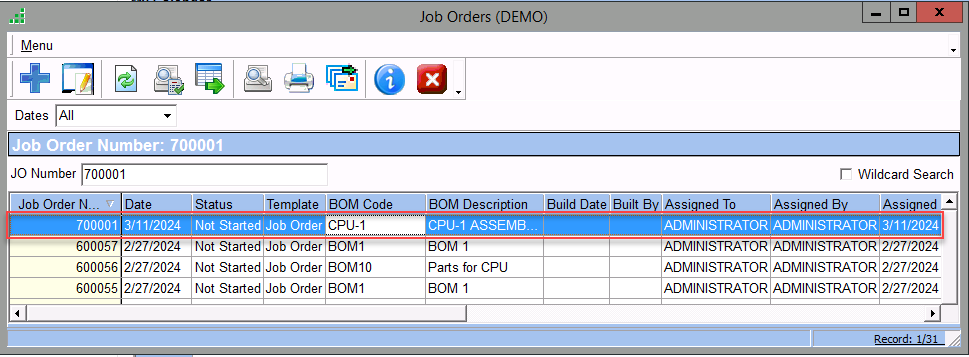
Menu Path: Production > Job Order > Job Order List
A New Job Order will be created for the remaining required outputs